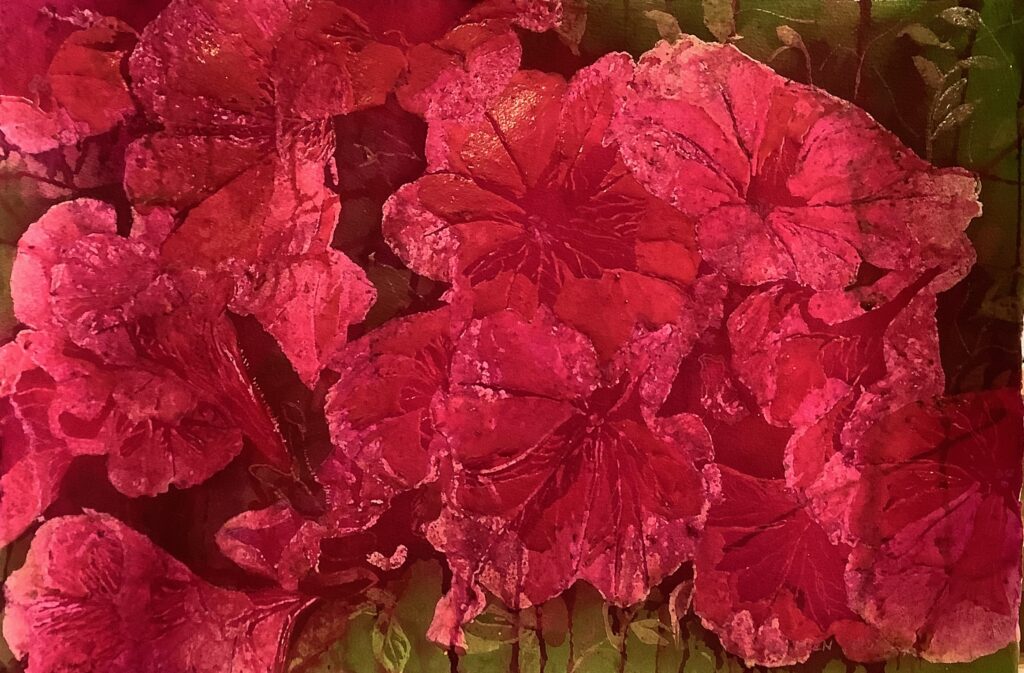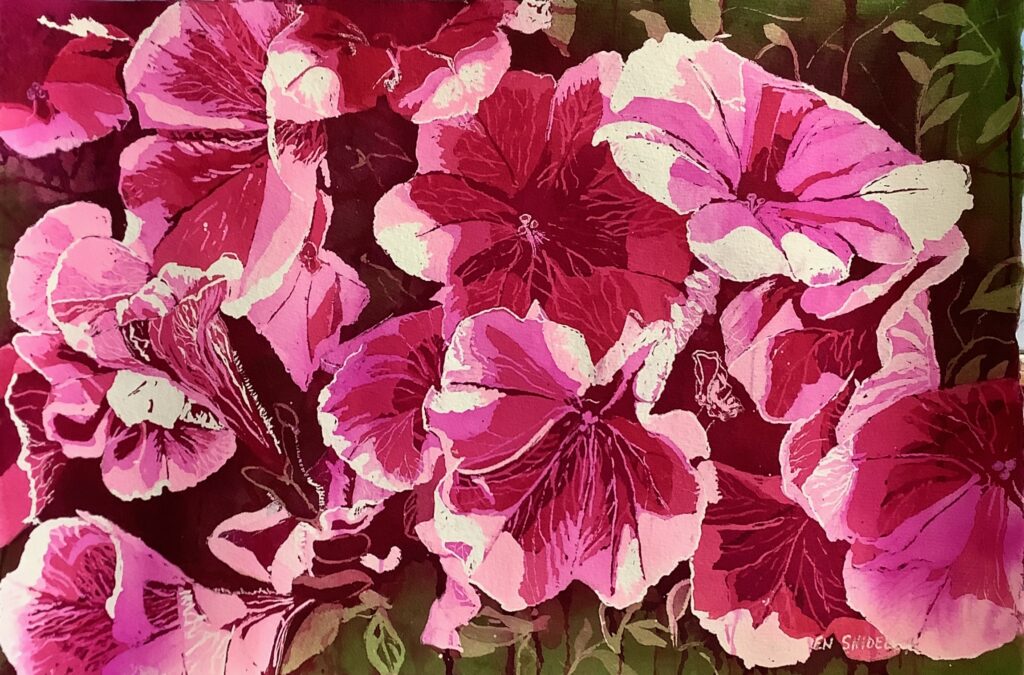
Red Hot Pink poured watercolour
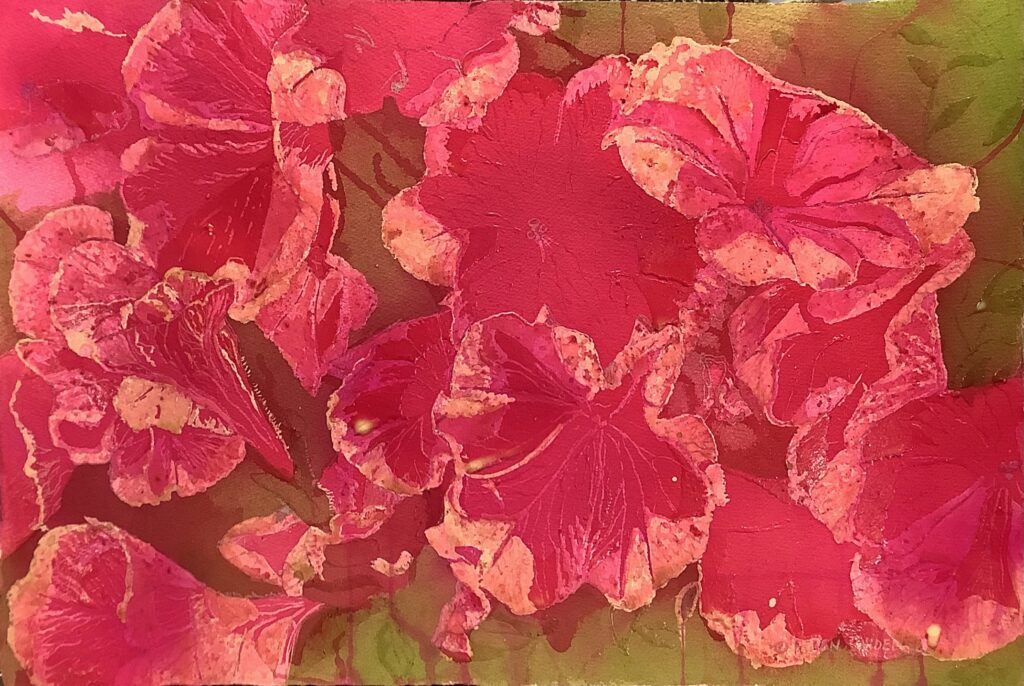
Red Hot Pink poured watercolour painting with process and product review
I was feeling adventurous so I experimented with a few new products – one product I love and the other – not so much.
In the pink
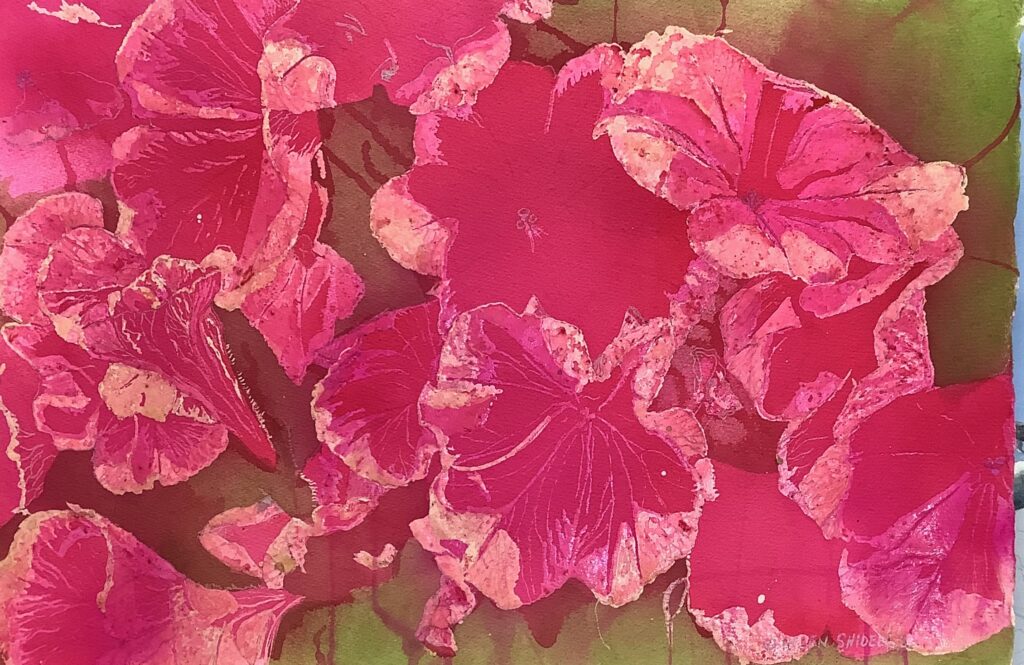
It’s been a rather long, cold and wet spring. I wanted to paint something that celebrates summer heat and sunshine. Something bold and beautiful. Also I wanted to painting something that develops quicker than my oil paintings. So I turned to my photos of last summer’s planters and found red petunias! I also took this an an opportunity to push it a bit and experiment with a couple different products.
Dr Ph. Martin’s Concentrated Watercolor Review
The good stuff I made the switch to liquid paint a while back as I found traditional tube watercolours very expensive to use in this process. It used up so much paint and those little tubes are pricey.
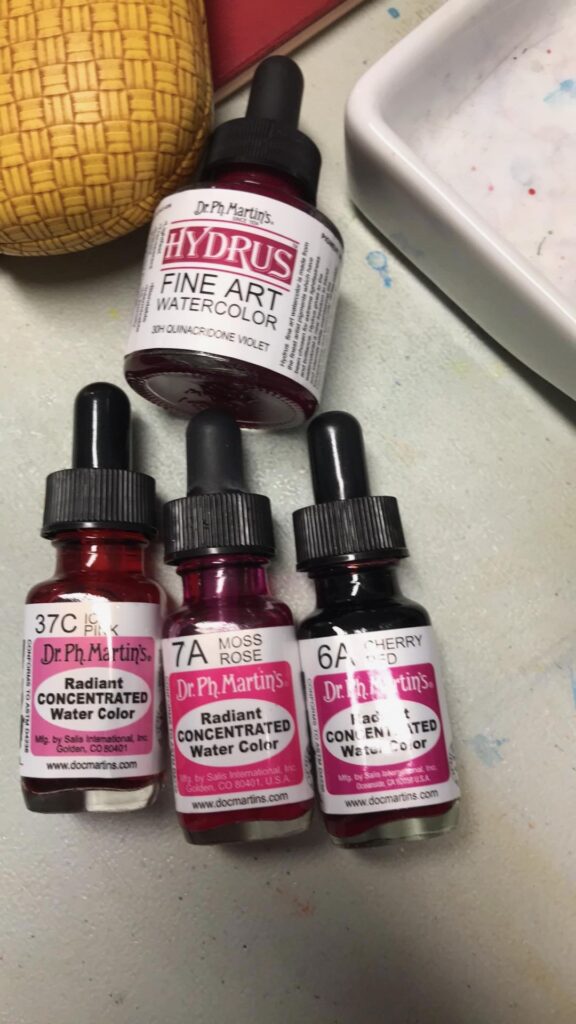
I decided to try Dr Ph. Martin’s Concentrated Watercolor rather than the Hydrus Fine Art Watercolor by the same maker.
I won an award for a painting and decided to use the prize money to purchase two sets of Dr. Ph. Martin’s Hydrus Fine Art Watercolor.
Initially I loved the product, although I found it not to be as transparent as I hoped. But it worked with the pouring process quite well – if you do not pour too many layers.
Over time the paint separated with the pigment congealing at the bottom of the little jars. No amount of shaking would reconstituit the paint.
This paint is way too expensive for that to happen.
Not to be deterred, I then bought a few bottles of Dr Ph. Martin’s Concentrated Watercolors. The paint is clear so nothing to seperate. I fell in love with these highly concentrated colours. Although it does take more paint than I expected to get the saturation I wanted for pouring. Transparency is key when pouring monochromatically in order to create depth needed to make the painting successful. The previous layers will show through as the painting develops. I will buy more colours for sure.
Lesson Learned:
This stuff really stains. I had a bottle of intense pink in hand and managed to spill it on my table and onto the floor. Did I mention it was on my new vinyl plank floor. This stuff stans like crazy!! I scrambled to get it off my nice grey studio floor. Omigoodness! What an adventure trying to remove the colour. Painting is supposed to be relaxing right? Not stressful?? Omigoodness. There is still a slight pink hue there if you know where to look.
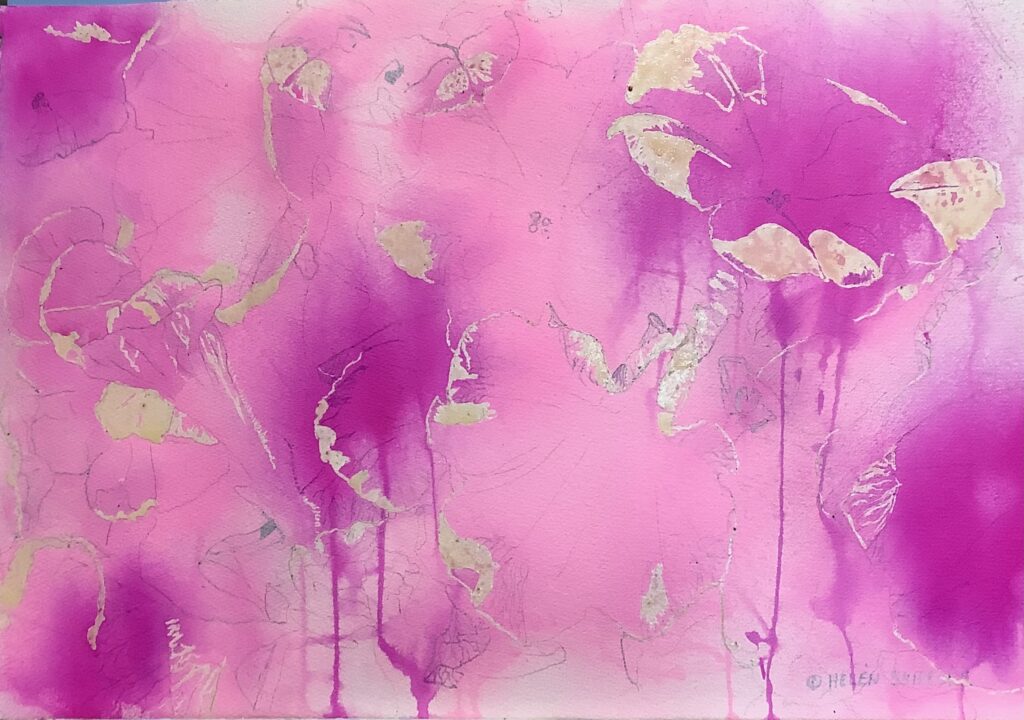
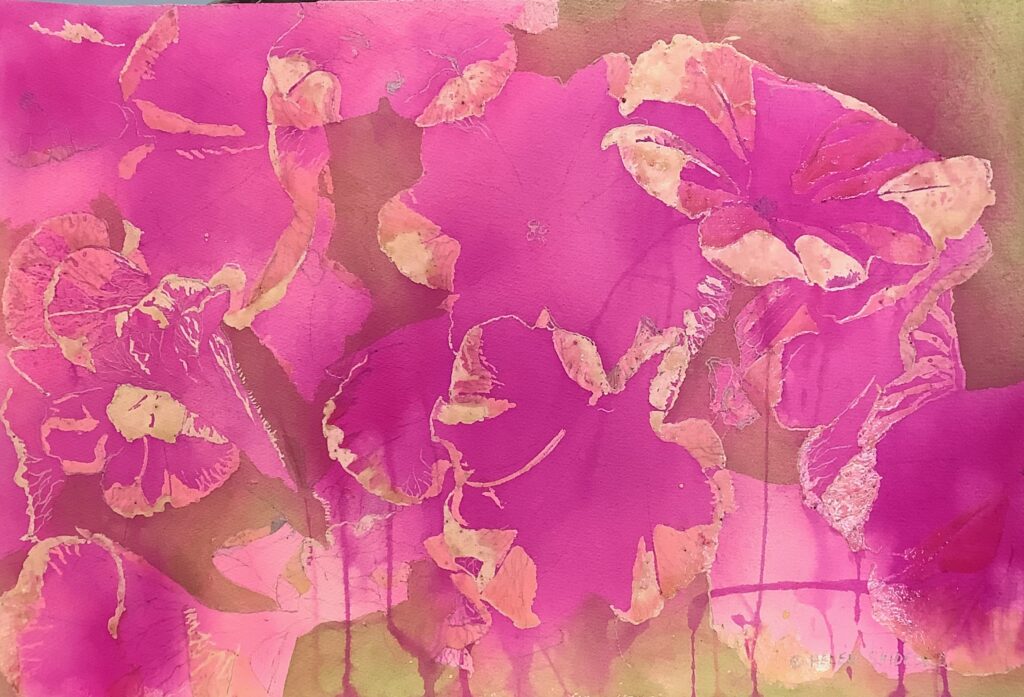
Work in process click through slide show:
Pebeo Magic Drawing Gum Marker Review:
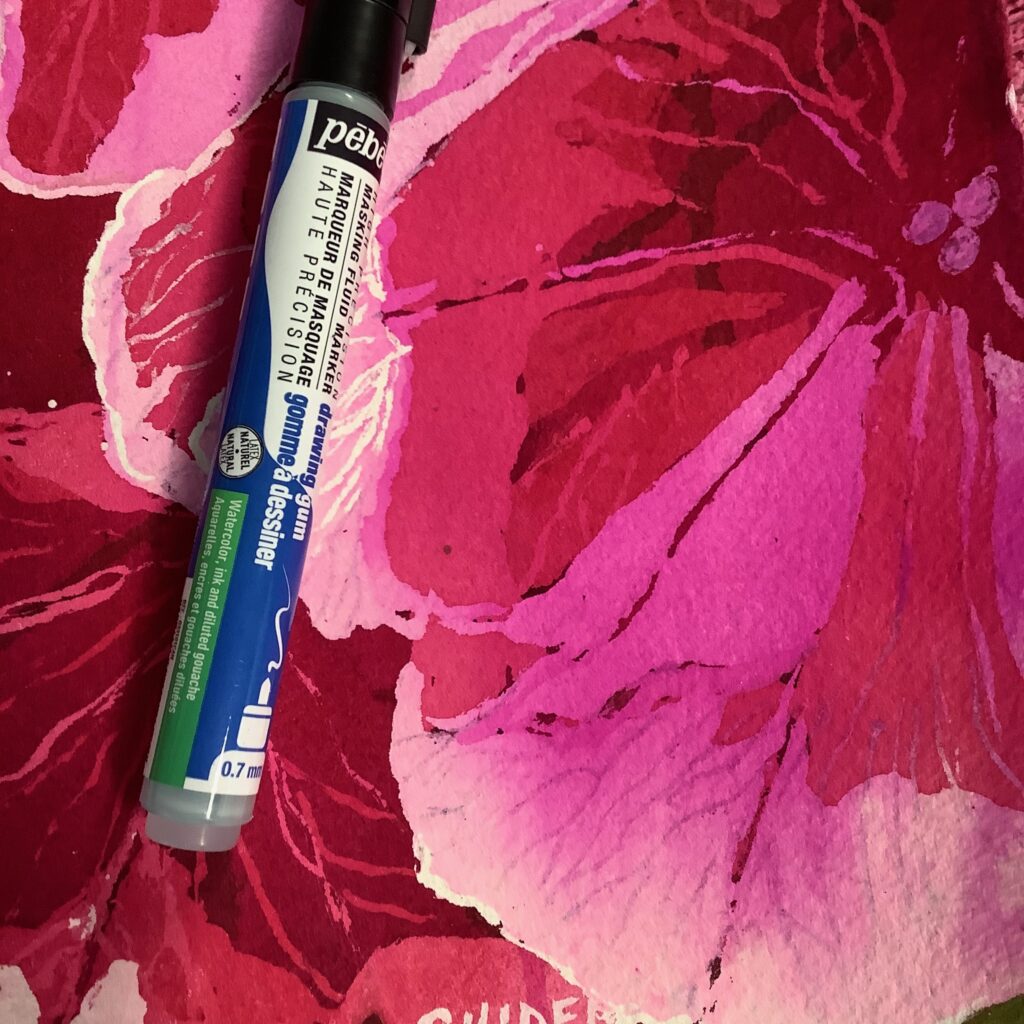
Again I was so excited, what if this thing actually works? Oh, the possibilities. Problem solved for fine line masking!
It worked for a bit until it didn’t. It worked like a charm at first. Although you have to press quite hard to get a mark on the paper.
While that is ok for a poured painting, I would not use it on for a traditional watercolour painting. I would not want the little ridges created on the paper to allow the paint to fill in the lines. As I continued to draw fine masking lines with it, the texture changed becoming thinner.
Here is where I should have paid more attention. The new thin little blue lines that I created unfortunately were permanent. Could not be removed no matter what I did. You can see the silvery blue lines in the photos below. In the end, I was able to paint over them so the painting was not lost.
Fun for crafts – do not touch it on a fine art piece.
Hope you are keeping well and finding time to be creative. Stay safe!


