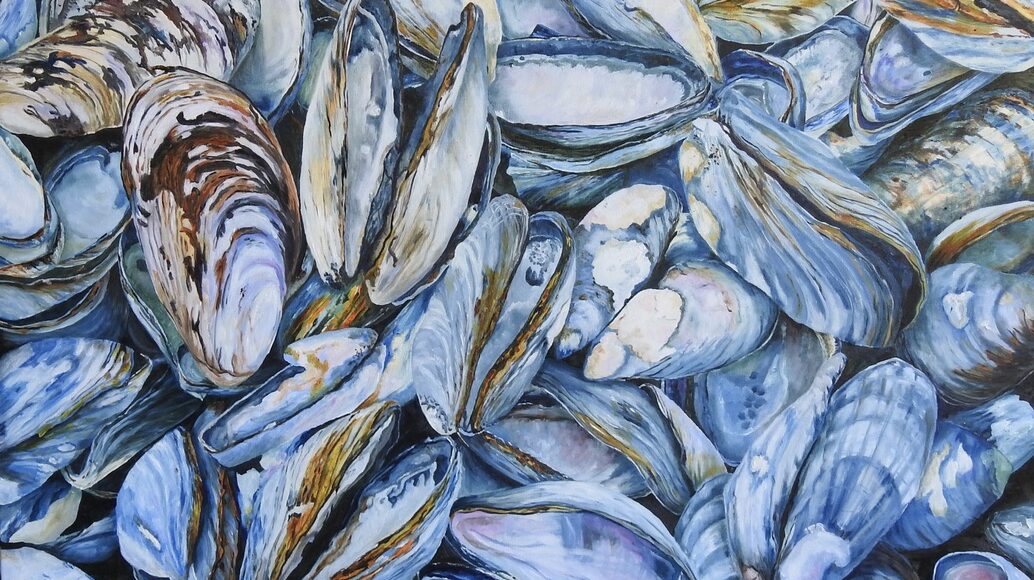
Summer’s Jewels was so much fun to work on – I mean I completely love these colours. And I completely loved pouring the colours of nasturtiums! There were a few moments of uncertainty – like when the making compound really did not want to come off. Took me a few hours…. and a blister to make it happen! This painting went through seven different pours – one colour I applied twice to increase the intensity.
Below is the peel reveal
I friend and I were recently discussing colours what subjects pour better or what make a successful poured painting. Whether monochromatic or complimentary colours pallets would be more effective? I really hadn’t thought about it quite like that. And that got me thinking how I would approach this post.
I normally select a subject from a series of photos I have taken, print them and then take a photocopy in black and white. What I am looking for are values. This is so important to pouring – you simply have to be able to see and establish contrast for the pours to work properly and establishing dimension.
Secondly you need a solid, proportionate drawing as a guideline. Not a lot of detail. You need to be able to see where the values are. This is very important as application of the poured paint on a wet surface often creates abstract or surreal shapes.
I actually found this painting to be rather difficult as it has similar tones throughout and limited contrast.
The other consideration is that pouring yellow over yellow may not provide enough value distinction without the addition of an additional colour. Example: cad yellow light for the first applicant then add green gold or yellow ocher to change the tone and value for the second pour. If you add deeper yellows your painting may become opaque right before your eyes. This is fine if you are ok with flatter colours. Red is also a challenge to pour for the same reason.
Tip: I always have a piece of the same paper as my painting beside my work area to test how the colours will work when poured over each other.
The rest of the story

